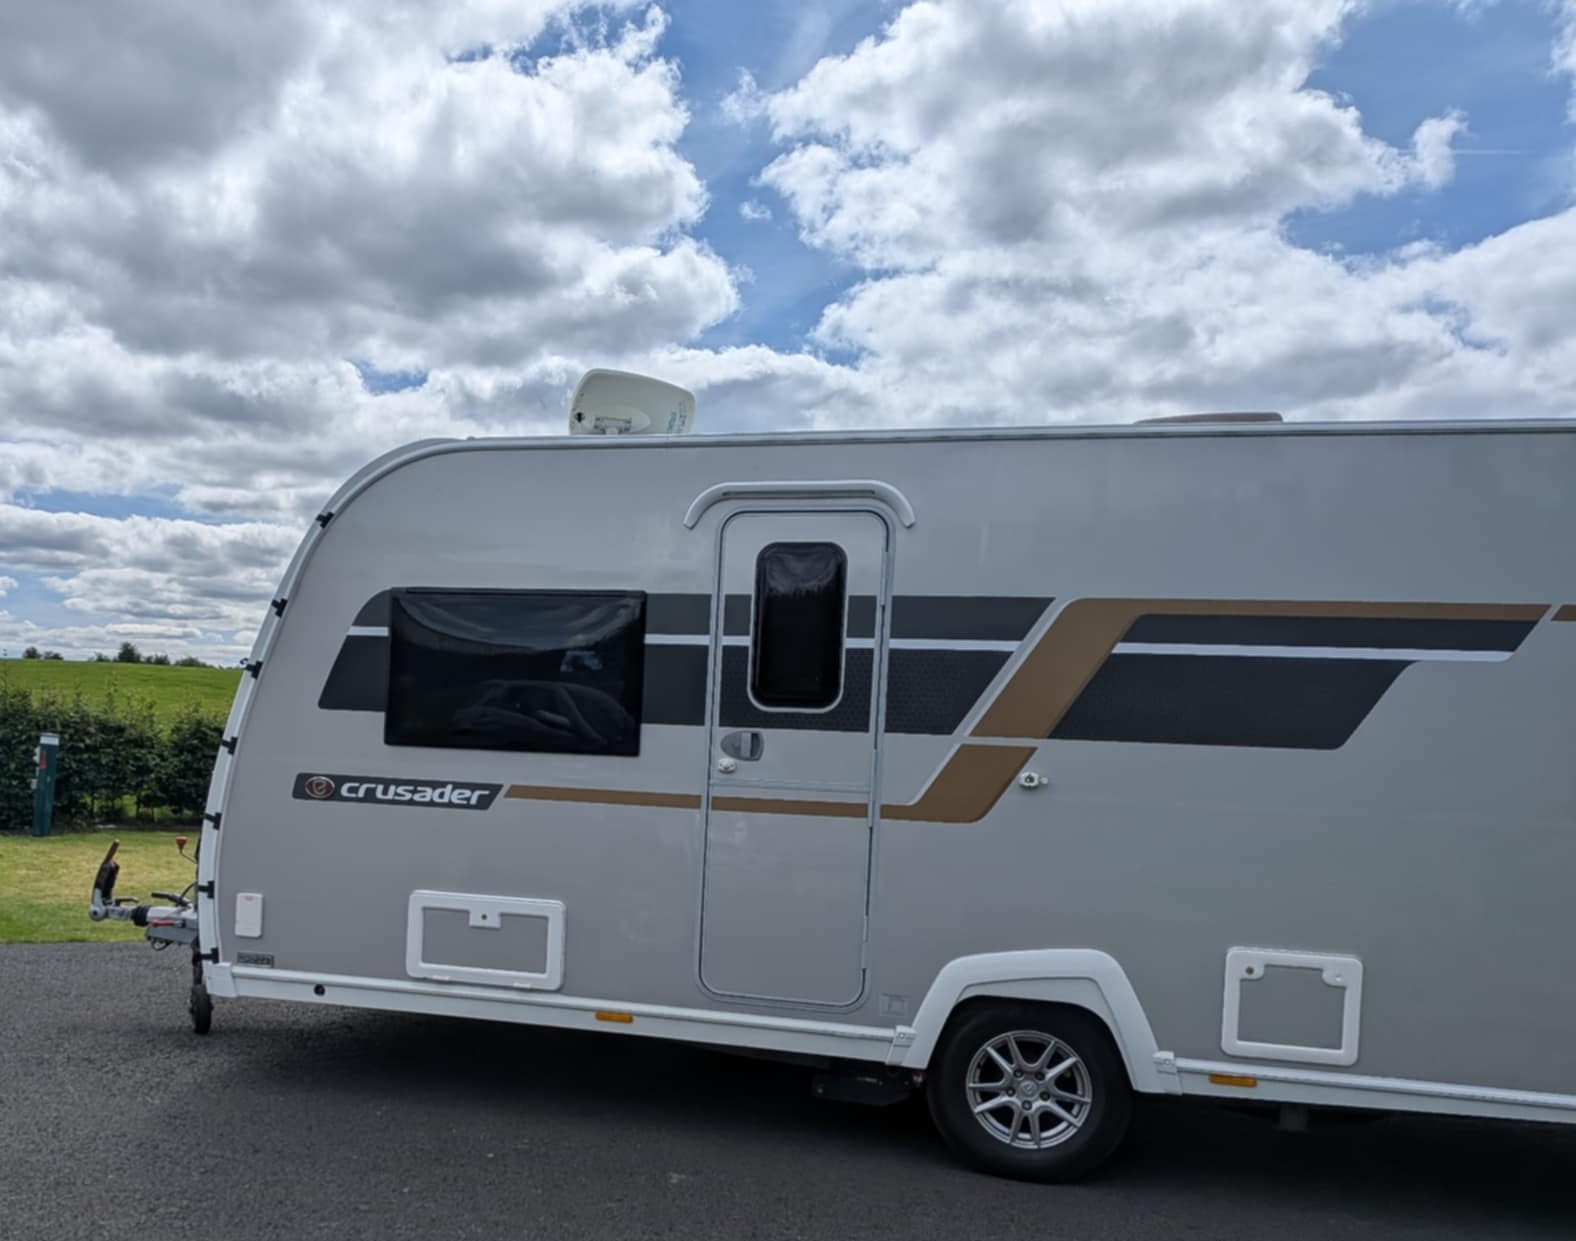
How to Level a Caravan for Beginners – A Complete Step-by-Step Guide (With Dos and Don’ts)
Leveling your caravan is one of the most important tasks to master as a new caravanner. Whether you’re setting up on a touring pitch, a CL site, or wild camping for the night, making sure your caravan is perfectly level ensures your appliances work properly, water flows correctly, and—most importantly—you sleep comfortably.
In this beginner-friendly guide, we’ll walk you through exactly how to level your caravan step by step, explain how to check if it’s level, and cover the common dos and don’ts to avoid mishaps. Let’s get you leveled up—literally!
Why Is It Important to Level Your Caravan?
Before diving into the how-to, let’s understand the “why.”
A level caravan helps to:
- Ensure your fridge works efficiently (especially absorption fridges)
- Prevent shower trays and sinks from overflowing
- Avoid strain on chassis and stabiliser legs
- Improve sleep quality with a flat bed
- Prevent doors from swinging open or closed
- Keep cupboard items and water tanks in balance
- Stop water pooling on flat surfaces
Even a slight slope can be noticeable when you’re inside the van—especially at night or when cooking.
What You’ll Need to Level Your Caravan
Here’s a checklist of basic leveling tools:
Essential Equipment:
- Caravan spirit level (bubble or digital)
- Wheel ramps/chocks
- Levelling blocks or mats
- Caravan jack (optional)
- Corner steadies (already fitted on most caravans)
- Winding handle or cordless drill with corner steady adaptor
- Motor mover (optional but makes life easier)
- Torque wrench (for re-tightening wheel nuts if needed)

The ones we use are Milenco Stacka Jacks pads these work well with the Milenco Stacka Corner feet you can also get the Milenco Jockey wheel pad (Contains Affiliate links)
Step-by-Step Guide to Leveling a Caravan
Let’s break the process into three main phases:
- Side-to-side leveling
- Front-to-back leveling
- Final steadying
Step 1: Choose Your Pitch
When you arrive on-site, first choose a pitch. Some are naturally level, others are sloped or uneven.
Top tips for choosing the right spot:
- Walk around and visually assess the ground slope.
- Choose a pitch with minimal gradient if you can.
- Avoid soft or boggy ground.
- Check access to electric hook-up and facilities.
Step 2: Side-to-Side Leveling (Axle Axis)
This is the first and most important step because it’s the hardest to adjust once the caravan is unhitched.
Instructions:
- Place a spirit level on the caravan floor, ideally across the axle or kitchen worktop (width-wise).
- If the bubble isn’t centred, raise the lower side using a levelling ramp.
- Drive slowly onto the ramp (or use your motor mover) until the bubble is centered.
- Place chocks behind the wheel once level, to prevent rolling.
Optional: If the ramp is too steep, use leveling blocks to raise in stages.
Don’t use corner steadies to lift the caravan side-to-side—they’re not designed for this and can cause damage.
Caravan Levelling Ramps ~ Affliate link
Step 3: Chock Your Wheels
Once you’re level side-to-side, place a wheel chock behind (and in front if needed) the wheels to prevent any movement.
If you’re on a steep pitch or if the ground is loose (gravel, grass), double-chock both sides.
Step 4: Unhitch the Caravan (If you didnt use motormover or pushed into place) Skip to step 5 if so.
Now that you’ve secured the side-to-side leveling, it’s time to unhitch.
Steps:
- Apply the caravan handbrake.
- Disconnect the electrics and breakaway cable.
- Lower the jockey wheel and wind it down until it touches the ground.
- Unhitch the tow ball and drive the car away.
- Use the jockey wheel to support the caravan front.
Tip: Always double-check the handbrake is on before driving away.
Step 5: Front-to-Back Leveling (Longitudinal Axis)
Now use the jockey wheel to level the caravan front-to-back.
Instructions:
- Place the spirit level lengthways on a flat surface (e.g. floor or worktop).
- Wind the jockey wheel up or down until the bubble is centered.
- When the front-to-back level is perfect, lock the jockey wheel into place.
Pro Tip: A digital caravan leveller or phone app (like “Levelling Tool”) ~ Contains affiliate link, can help with precision.
Step 6: Lower the Corner Steadies
With the caravan now level, use the corner steadies to stabilise it.
How to do it:
- Use a winding handle or cordless drill to wind each corner steady down until it contacts the ground.
- Apply light pressure to stabilise—do not lift the caravan with them!
- Use leveling pads or blocks underneath if the ground is soft or uneven.
Don’t over-tighten steadies—it stresses the chassis and can twist the frame.
The Drill we use is a Makita Cordless Drill with the Caravan leg winder socket (Contains Affiliate links)

Step 7: Double-Check Everything
Do a final walk-around:
- Caravan is level both side-to-side and front-to-back
- Wheels are chocked
- Handbrake is applied (If your pitched on somewhere flat and no risk of it moving we keep the handbrake off to prevent it from seizing)
- Corner steadies are down and secure
- Jockey wheel is locked
- Doors and windows open and close smoothly
Common Mistakes to Avoid (Don’ts)
New to caravanning? These are the most common leveling mistakes and how to avoid them:
Don’t rely on corner steadies for lifting.
They are for stability, not weight-bearing.
Don’t skip leveling just because it “feels okay.”
Your fridge and plumbing could be affected even with slight tilt.
Don’t level on the jockey wheel first.
Always level side-to-side before unhitching or use motormover.
Don’t forget to chock the wheels.
This can lead to rolling—dangerous and damaging!
Don’t park nose-down on steep hills.
It can overwork your handbrake and affect waste water drainage.
Handy Leveling Tips (Dos)
Use your spirit level before buying ramps.
Every caravan is different—some need steeper or longer ramps.
Label your ramps and chocks.
Keep everything tidy in one box or bag marked “Leveling Kit.”
Practice on your driveway or garden.
Get familiar with your tools in a low-pressure setting.
Upgrade to a motor mover.
Leveling becomes much easier when you can fine-tune wheel positions without driving the tow car.
Use a digital leveller app.
Modern tools like Bluetooth levels or phone apps can give real-time guidance.
Recheck your levels after a day.
Weather and weight movement (e.g. water tanks filling) can affect balance.
Invest in wide steadies if you camp off-grid.
They’re better for grass and gravel pitches.

Optional Tools That Make Leveling Easier
If you find manual leveling tricky or time-consuming, here are some gadgets to consider:
Motor movers – Allow you to drive the caravan onto ramps remotely.
Digital leveling sensors – Sync with your phone to show real-time leveling data.
Auto-levelling systems – High-end systems that electronically level your caravan at the push of a button.
Spirit levels with magnets – Handy for sticking to the A-frame or inside door for a quick glance.
Final Thoughts – Make Leveling Part of Your Routine
Once you’ve done it a few times, leveling your caravan becomes second nature. It’s a vital part of setting up, and doing it right will improve your comfort, keep your appliances happy, and extend the lifespan of your caravan chassis and legs.
Just remember: side-to-side first, chock securely, then front-to-back with the jockey wheel, and finally lower the steadies for stability. And never use the steadies to level the van!